How to Automate WordPress Posts with Make.com
Automating your WordPress posts can save you hours of manual work, streamline your content creation process, and keep your blog updated with fresh content. In this guide, we’ll walk you through how to completely automate your WordPress posts using Make.com. This powerful tool will allow you to generate and publish articles effortlessly, as long as you have your keywords ready. Let’s go!
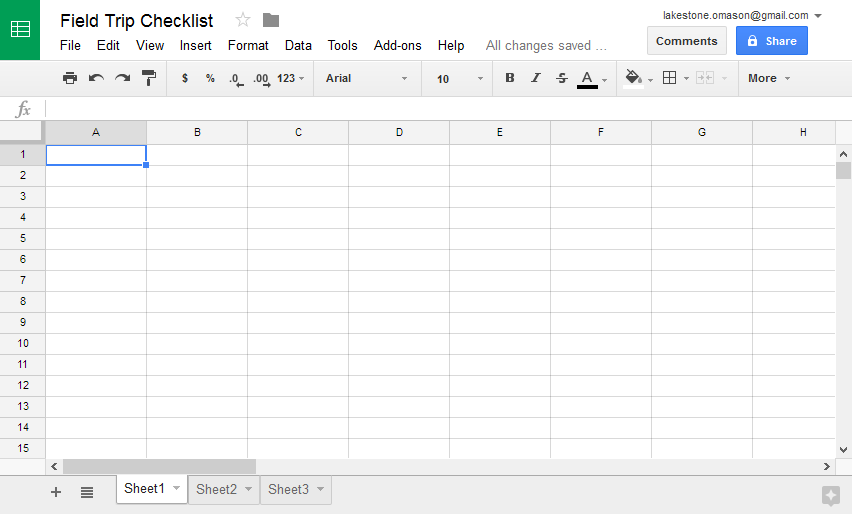
Preparing your keywords in Google Sheets
Step 1: Prepare your keywords
The first step in this automation process is to prepare your keywords. Let’s say you want to create articles about Cape Town, South Africa. Gather all the relevant keywords you plan to use.
- Create a Google Sheet and paste your keywords into it.
- Name the sheet appropriately, for example “Keywords Cape Town”.
Exemple de mots-clés :
- Pourquoi Le Cap est-il si célèbre ?
- Meilleurs endroits à visiter au Cap
- Guide de voyage du Cap
Step 2: Connect Google Sheets to Make.com
- In Make.com, create a new scenario and connect your Google account.
- Select the Google Sheets module and choose the “Get cell” action.
- Configure it to retrieve data from the first cell (A1) of your keyword sheet.
Automate content creation with Make.com
Step 3: Configure HTTP Request
To generate articles, we will use an HTTP request to an AI article generator.
- Add an HTTP module in Make.com and configure it to make a POST request.
- Set the request URL provided by your AI article generator service.
- Add the necessary headers and body parameters, such as Google Sheets username, secret key, and keyword.
Exemple de paramètres de corps :
- username : votre_nom_utilisateur
- secret_key : votre_clé_secrète
- keyword : {Valeur de A1}
Step 4: Parse the JSON response
The response from the AI article generator will be in JSON format. Use the “Parse JSON” module in Make.com to extract the post content, title and image URL from the response.
Step 5: Manage Images
If your posts include images, you must download and upload them to your WordPress media library.
- Use the “Get File” module to download the image from the URL.
- Add a WordPress module to upload the image to your media library.
Publish to WordPress

Step 6: Create a WordPress Post
We will now configure Make.com to create a new article on your WordPress blog.
- Add a WordPress module and select “Create a post”.
- Map the article title and JSON response content.
- Set the post status to “publish” and map the featured image if available.
Step 7: Delete the processed keyword
To ensure the process continues without a hitch, remove the processed keyword from Google Sheets.
- Add a Google Sheets module and select “Delete row”.
- Configure it to remove the first line after the keyword has been used.
Conclusion
By following these steps, you have set up a fully automated system for generating and publishing WordPress posts using Make.com. This automation will save you time and ensure that your blog stays regularly updated with fresh content.
If you found this guide useful, be sure to check out our other tutorials on Make.com and WordPress automation. For more tips and updates, subscribe to our channel and visit our website.
Sources
- Make.com Official Documentation
- WordPress API Guide
By implementing these steps, you can keep your WordPress blog updated with fresh content effortlessly. Happy automation!


![[Tutorial] WhatsApp Automations with Make: Step-by-Step Guide](https://robustcommerce.com/wp-content/uploads/2024/07/xa-step-by-step-tutorial-guide-on-whatsapp-automati-WoLWaetpTd6r-fGDdOH7dA-NW14WLEDR-q6wN3Q3ZKCg-768x432.jpeg.pagespeed.ic.FoAIqdP1rL.jpg)